


Hello Darlin' Mini Album—Karen Style!
by Karen Jiles | 11 years ago
Hi there, Karen here, sharing a mini album created with the New “Hello Darlin” paper stack. I’m absolutely in love with this stack. The colors and patterns are so classic and fun. The “Hello Darlin” stack can be used with many themes and many projects. This stack was just perfect to work with to create this “Sunshine” Mini Album. Take a peek at my tutorial below.

Supplies
DCWV Stack: Hello Darlin
Chip Board (2): 5 ½ x 5 ½
Paper bags (2): 5 ½ x 5 ½
Photos
1 ½ in Circle Punch
Frame
Wooden Words
Ribbon
Flowers
Clips
Cinch/Binding Tool & Coils
Distressing Tool
Bone Folder
3D Tape
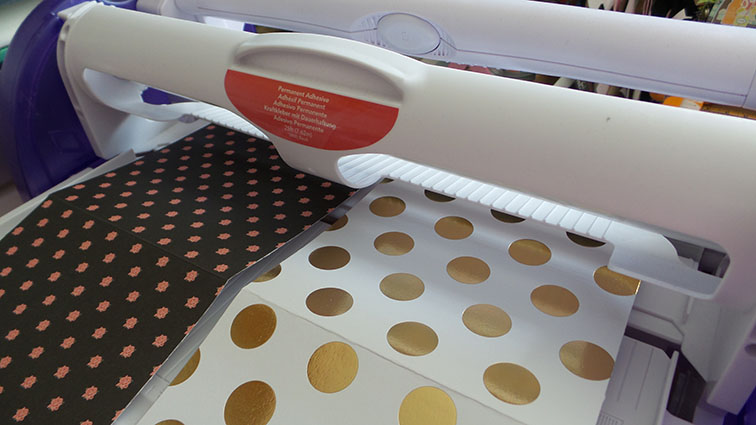
Xyron Adhesive: The New Creative Station, Mega Runner
Hot Glue
Instructions
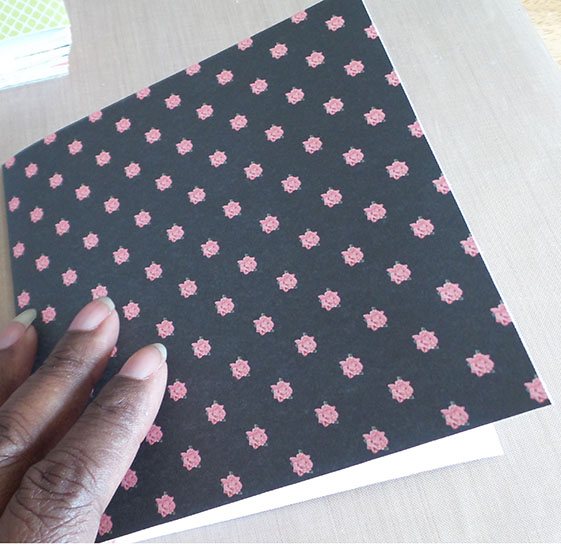
Step 1: Trim 4 pieces of patterned paper down to 5 ½ x 5 ½ for the front and back covers. Run through the New Creative Station to apply adhesive.

Step 2: Adhere patterned paper to chipboard front and back covers, including inside covers. Set aside.

Step 3: Fold paper bags in half and score. Using the Mega Runner, apply adhesive to the inside and side flaps of the paper bag pages. Note: The goal is to have flat pages and no openings on the top and bottom of the bags or between flaps. Leave all insert areas of the bags open/un-adhered. They will be used as pocket options.
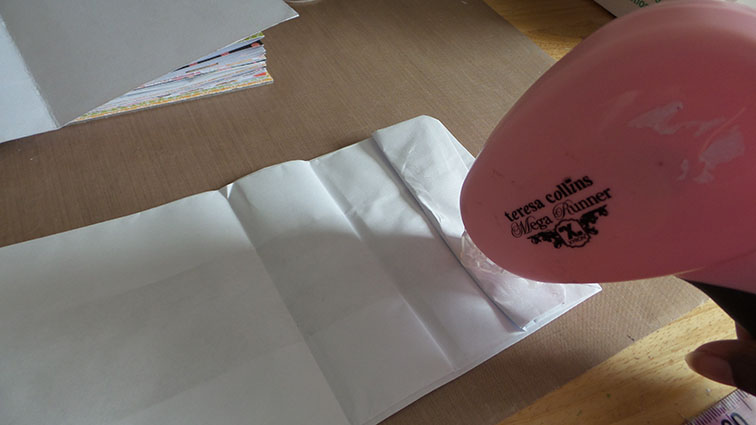
Step 4: Trim coordinated patterned paper to 5 ½ x 11 to cover paper bags. Fold in half and score. Run through Creative Station and adhere to folded paper bags. Repeat this step for both paper bags, including inside paper bag pages.

Step 5: Using a circle punch, punch a half circle out of the center of the opening of the paper bag pages.
Note: Use the rounded indentation in the bag as a guide. Set aside.

Step 6: Trim coordinated patterned papers to 5 ½ x 11 and fold in half to 5 ½ x 5 ½. Score with bone folder.
Note: I used 8 trimmed sheets in the album. You can adjust the number of sheets to your desired quantity.
Step 7: Run scored coordinated papers through the Creatopia Machine. Carefully fold each paper over to adhere the inside of the left side to the inside of the right side.
Note: This will make your pages double sided and will also give them a nice firm feel.
Step 8: Collect all pages to form the mini album. Using a binding tool, punch holes in pages and use the coils to bind the album.
Note: I added printed transparent product packaging (Prima) as pages to add more fun to the album. I also trimmed 1" to 1 1/2" off of some of my patterned paper pages to add multiple fun elements throughout the album. See pics of finished pics at the end of the tutorial.

Step 9: Distress all pages with distressing tool, including front and back cover.
Note: The white core makes the distress effect effortless.

Step 10: Run the front cover paper layers through the New Creative Station and adhere layered strip to left side of front cover.


Step 11: Adhere layered cut out focal image from the Hello Darlin stack.

Step 12: Continue building the front cover with wooden words and frame. Add a bow to album cover.

Step 13: Add patterned papers, photos, cut outs, flowers and buttons throughout the mini album. Continue embellishing the album as desired. Note: The "Hello Darlin" stack includes fun cut outs to use throughout the album.


Sunshine Album by Karen Jiles
Supplies: Patterned Paper: DCWV; Ribbon: Maya Road; Flowers: Prima; Buttons: Foofla; Frame: Making Memories; Adhesive: Xyron; Tool: Craft-Dee-BowZ; Other: Chipboard, Wooden Letters
The following are pics of a few of the pages:


Thanks so much for visiting today.
 0
0DCWV Inc. on Instagram
DCWV Inc. on Pinterest
Visit DCWV Inc.'s profile on Pinterest.DCWV Inc. on Facebook
Recent Posts
Popular Posts
Connect with Us!


