Holiday Keepsake with Karen
by Karen Jiles | 10 years ago
Hi there,
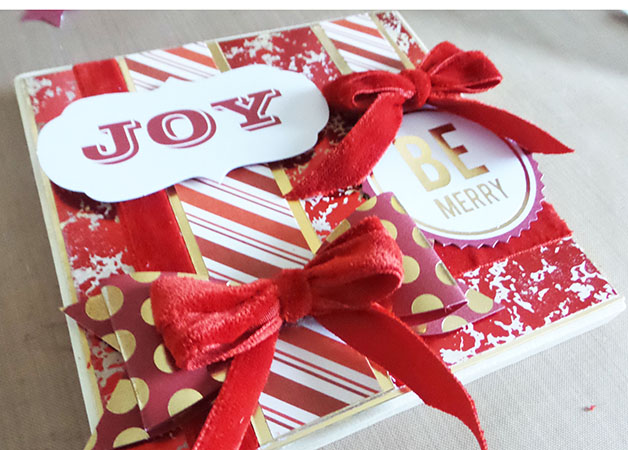
Karen here, sharing a Holiday Keepsake created with the New Mercury Glass paper stack and the Favor Boxes DIY Project Stack. This paper is perfect for the Holidays. The shimmer in the patterned paper provides just the amount of glitz, appeal, and visual texture that is needed to enhance the overall design of this project. Take a peek at my easy Keepsake tutorial below:

Supplies
DCWV Stack: Mercury Glass
DCWV DIY Project Stack: Favor Boxes
Wooden Frames (5 X 5, 7 3/4 x 7 3/4)
Felt Ribbon
3D Tape
Xyron Adhesive: The New Creative Station, Mega Runner
Hot Glue
E6000
Trimmer
Bone Folder
Instructions


Step 1: Adhere patterned paper from Mercury Glass Stack to 7 ¾ x 7 ¾ wooden frame. Set aside.

Step 2: Fold a 5 x 10 piece of patterned paper in half and score with bone folder.


.jpg)
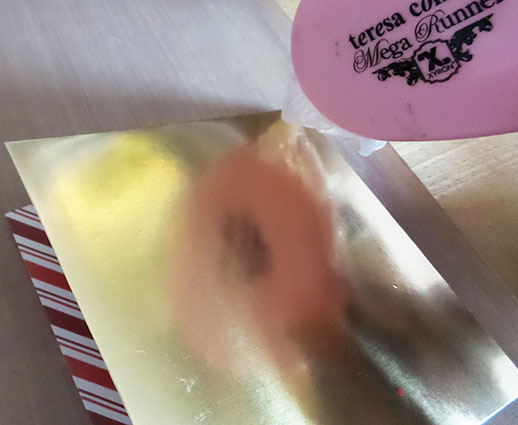
Step 3: Using the Mega Runner, apply adhesive to the back of the folded cardstock and adhere to the 5 x 5 frame. Note: This will create a card effect with an opportunity to add photos and/or journaling to the inside of the folded layer.


Step 4: Run additional patterned paper layers, including coordinating strips, through Xyrons New Creative Station.


Step 5: Adhere coordinating paper layers and ribbon to 5 x 5 wooden frame.


Step 6: Form paper bow from DIY Favors Box Project Stack and adhere to 5 x 5 wooden frame.

Step 7: Adhere felt bow to paper bow using E6000.

Step 8: Using 3-D tape, adhere Christmas sentiments and an additional bow.

Step 9: Run gold paper layer from the Favor Boxes DYI Project Stack through New Creative Station and adhere to 7 ¾ x 7 ¾ wooden frame. Adhere 5 x 5 frame to center of 7 ¾ x 7 ¾ using E6000 and hot glue. Continue embellishing as desired.


Holiday Keepsake by Karen Jiles Supplies Patterned Paper Stacks: DCWV; Adhesive: Xyron; Tool: Craft-Dee-BowZ; Other: Frames, Ribbon
Thanks so much for visiting today.


 0
0


